Create your first cross-platform app | Kotlin
kotlinlang.org
위 링크의 내용을 따라가며 시작해 보기.
프로젝트 생성


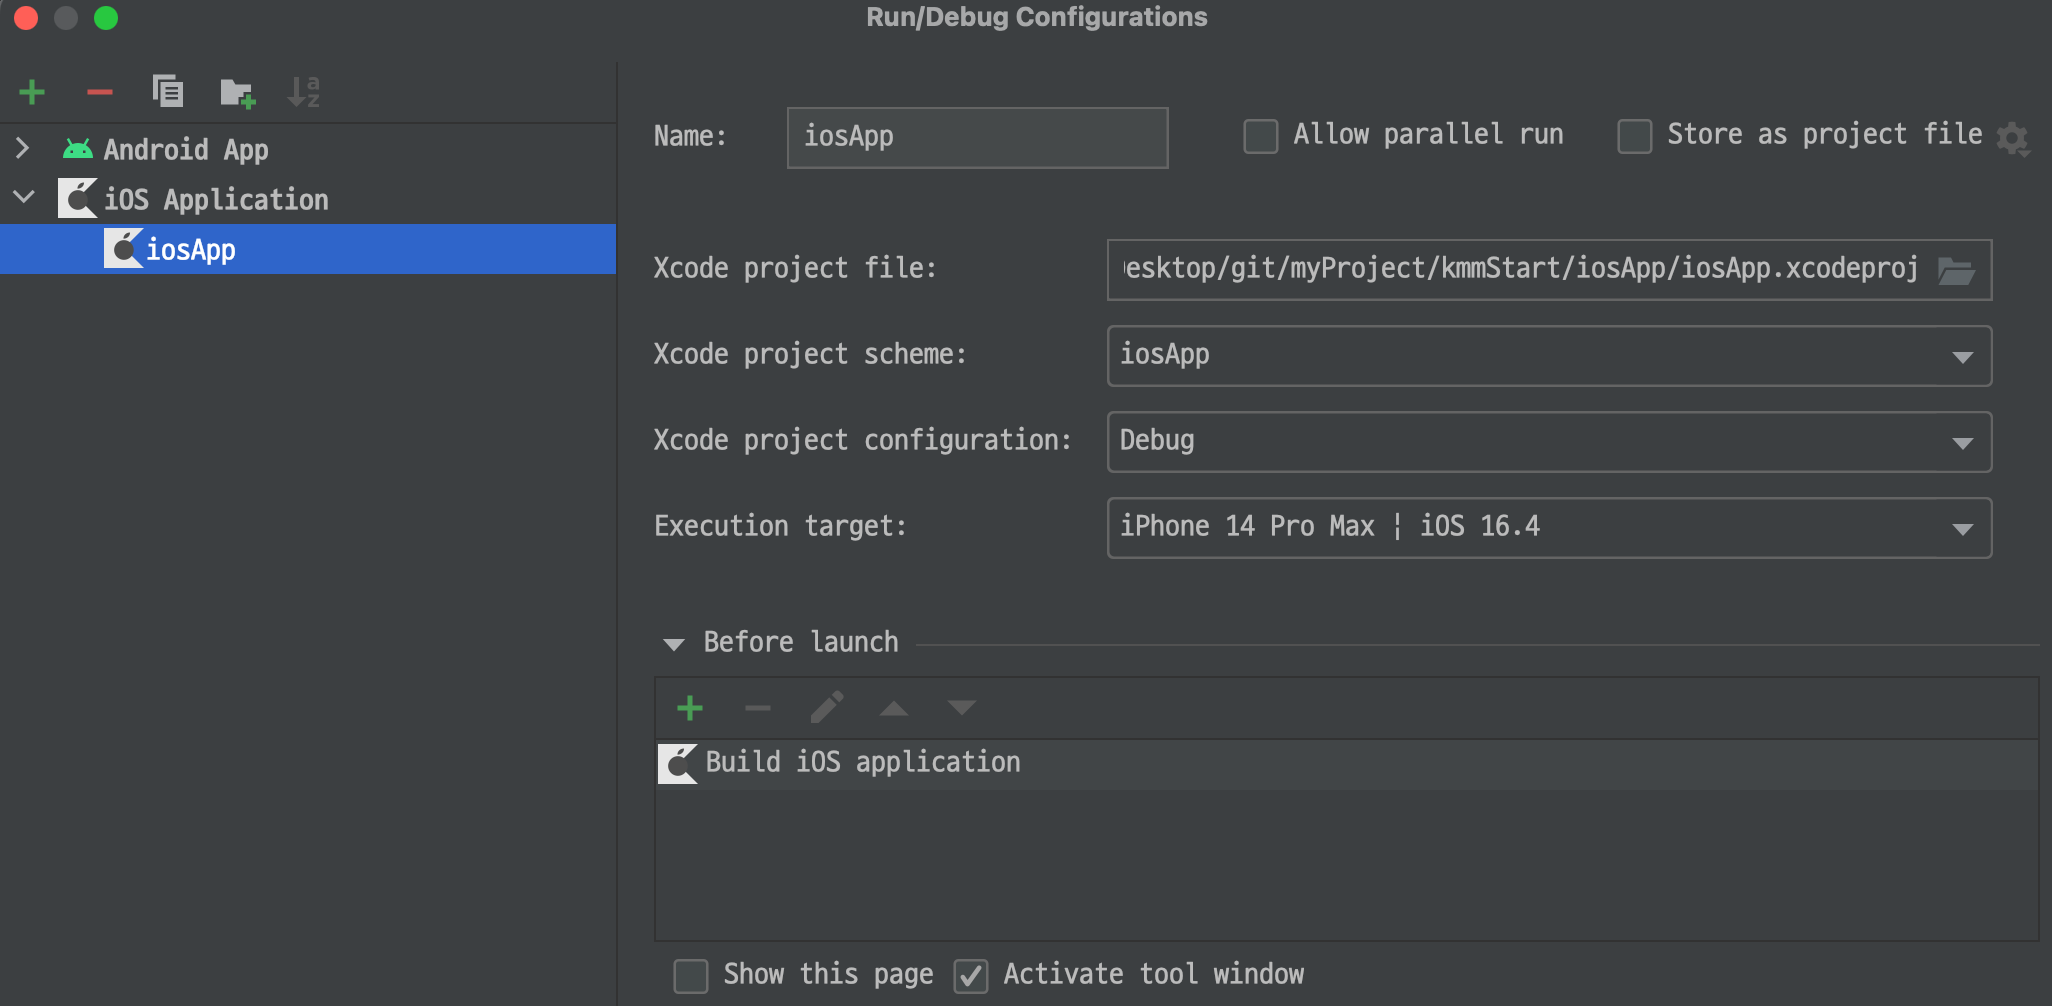
IOS 실기기가 없다면 다음과 같이 Configuration을 설정해 줍니다.


Common Main 수정해 보기
greet()는 iosMain, AndoridMain 프로젝트에서 불리는 공통 메서드이다.
package com.root.kmmstart class Greeting { private val platform: Platform = getPlatform() fun greet(): String { return "Hello, ${platform.name}!" } }
Platform Interface를 비니지스 로직에 필요한 동작을 정의하고 IOS, Android 각각 동작에 대해 구현한다.
package com.root.kmmstart interface Platform { val name: String } expect fun getPlatform(): Platform
package com.root.kmmstart import platform.UIKit.UIDevice class IOSPlatform: Platform { override val name: String = UIDevice.currentDevice.systemName() + " " + UIDevice.currentDevice.systemVersion } actual fun getPlatform(): Platform = IOSPlatform()
package com.root.kmmstart class AndroidPlatform : Platform { override val name: String = "Android ${android.os.Build.VERSION.SDK_INT}" } actual fun getPlatform(): Platform = AndroidPlatform()
 |
 |
IOS, Android UI 수정해 보기
UI Level은 각각 플랫폼에서 구현된다. (필자는 안드로이드 개발자라 SwiftUI에 대해서는 무지하다)
@Composable fun GreetingView(text: String) { Column() { Text(text = text, color = Color.Red) Text( "this is Greeting View Composable Function in Android App!!!", modifier = Modifier.background(color = Color.Yellow) ) } }
struct ContentView: View { let greet = Greeting().greet() var body: some View { Text(greet) Text("this is Greeting View Swift UI in Ios App!!!") } }
 |
 |
'Mobile > KMM(Kotlin MultiPlatform Mobile)' 카테고리의 다른 글
| 1. KMM 시작하기 (0) | 2023.04.23 |
|---|